

Tutorials
Achieving high-quality motion blur directly in a 3D render can be incredibly time-consuming, requiring a significant number of samples to get a clean result. Using motion vectors Maya can generate is one of the most efficient ways to achieve high-quality motion blur in post-production. However, getting the right data out of Maya using renderers like Arnold and Redshift can be tricky, as each has its own unique workflow and settings.
This technical guide will break down the process of generating and using motion vector passes from both Arnold and Redshift, using a simple test scene with both rotational and directional motion.

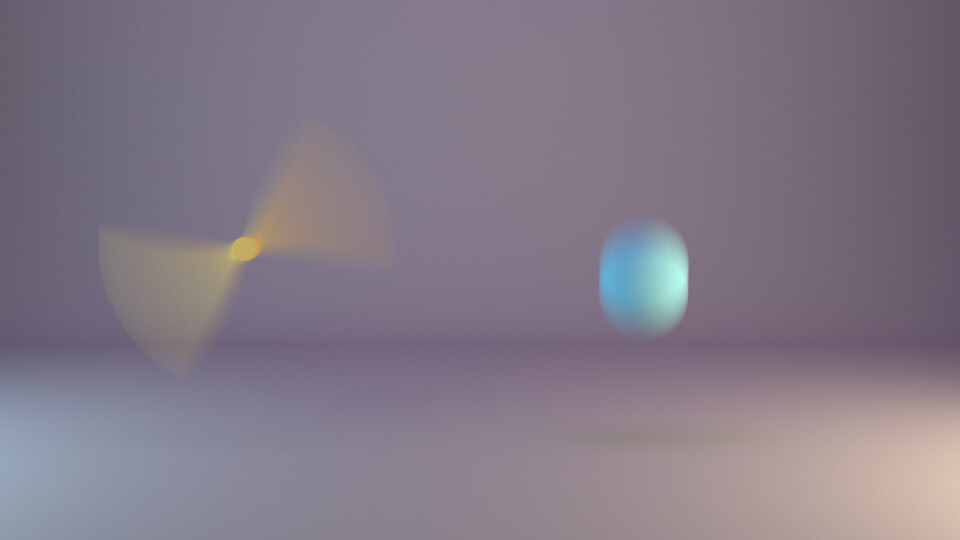
By default, in-render motion blur from Arnold is highly accurate. As you can see in the image below, it produces a beautifully curved motion blur on the rotor, but this quality comes at a significant render cost.

Motion blur rendered in Arnold with default settings (check the nice rounded motion blur of the rotor). This needs a hell lot of AA samples and time to render.
To create a motion vector AOV for use in post, you need to follow a specific setup.
First, you must enable motion blur in your main Render Settings but then disable it in the Diagnostics tab so it doesn’t calculate in the final render. Next, add the motionvector AOV. The resulting pass, shown below, contains raw 32-bit data where values can go far beyond the standard 0-1 range.


Notice the extreme values in the info panel. While it looks like there’s no data for the falling ball (it appears black), the data is there—the values are negative because of its downward motion. While older information suggests this raw data is incompatible with plugins like Reel Smart Motion Blur (RSMB), modern versions can handle it correctly.

As you can see, the result is quite good for the directional motion. The angular motion blur will never work with post-motion blur, so that’s alright. For raw data like this, your RSMB settings should have a “Max Displace” value of 1.

For more control, especially for clamping values, you can use the aiMotionVector shader connected to a custom AOV.


We can use two options. Encode Raw vector or use the max displace. First, The raw one.


Looks like the same, but the values are a little different on the rotor.

For the clamped motion vector, when you uncheck “Encode Raw Motion Vector” and set “Max Displace” to the width of your render (e.g., 960 for a 960×540 render), you get a normalized pass that looks much more familiar.


However, as the final result shows, this method can produce strange artifacts on rotational motion and may require you to multiply your blur amount to match the original render, making it a less predictable workflow.


Rendered motion blur with Redshift
Redshift offers a more direct approach to generating motion vectors within its AOV settings, providing both raw and clamped (normalized) options.

The raw motion vector pass from Redshift looks similar to Arnold’s. However, when applied in post with a blur amount of 0.5, the ball’s motion blur is doubled, while the rotor’s blur looks quite good.


Conversely, using the clamped motion vector pass with a max motion value set to the render width produces an accurate blur on the falling ball, but the rotational blur on the rotor is cut in half.


While rendered motion blur will always provide the most physically accurate result, it’s not always practical. Using motion vector passes for post-production motion blur offers a faster, more flexible workflow. Understanding how to properly export motion vectors Maya generates with different render engines is a key skill for any compositor or VFX artist.
Explore more articles from our blog.
